

When you create a blog post, you need to put them
into what we called category by assigning a unique section attribute which
differentiate one entry post from another.
Let say that you are running a football blog and you really want to be talking about football gist, How to win a football match and so on, you need to create a label that will help differentiate your post from each other. And the best way to do that is for you to create what we called label that will help to organize your blog into section by section. you can see an example of a label below

Let say that you are running a football blog and you really want to be talking about football gist, How to win a football match and so on, you need to create a label that will help differentiate your post from each other. And the best way to do that is for you to create what we called label that will help to organize your blog into section by section. you can see an example of a label below
Steps
in creating and assigning label to your blog post.
1.Login to your blogger Dashboard
2.Click on the Post Tab as shown below
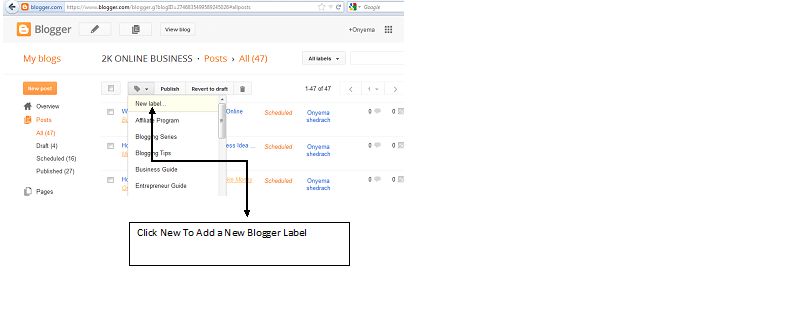
4.Click on the small rectangle that is on the post
5.Go up on the post and click on the label tab as
shown above
6.Type any of your preferred label you want the post
to bear and 7.Finally click Ok.
You will see the label being display on the post.
How to Add the Label to the side Bar of your blog
1.Login in to your blogger Dashboard
2.Go to Layout Tab and click At Add Gadget
3.Look for a script called label and click on it.
4.Customize it to your choice like whether to show all the label or a specific label.
5.click save .
6.click on save rearrangement at the top tab Save
7.view your site to see the changes


